What is Allneed.pro Notifications? And how does it work?
Allneed.pro is a suspicious website that you can get redirected to when you click on ads online or when there is an ad-supported program installed in your computer. When you get redirected to this site, it will continuously display a pop-up message that says, “allneed.pro wants to Show notifications”. You can either click on the Allow or Block button. If you click on Allow, you will be getting sponsored content from Allneed.pro each time you browse the web and if you click on Block, you will keep seeing the same pop-up message. This is why Allneed.pro is also referred to as Allneed.pro Notifications.

If you keep seeing alerts or notifications from Allneed.pro when you surf the internet, it’s definitely clear that your computer is infected with the Mega Media Start adware. Although adware programs like this one are not considered to be dangerous, they can compromise security and even your personal data. It can redirect you to suspicious and dangerous websites like phishing websites, websites that offer fake software or software updates, gambling sites, and many more.
In addition, this adware could also track and monitor your browsing activities so it can gather your information such as the OS version of your computer, IP address, website you often visit, ads clicked, browsing history, and any other information related to your browsing. Needless to say, you need to delete Allneed.pro Notifications from your computer before it can do any harm.
How does Allneed.pro Notifications circulate the web?
Allneed.pro Notifications may circulate the web via misleading ads. It could also spread via software bundles distributed on free sharing sites. So when you just recently install some freeware or shareware, that’s most likely the time when the adware program is also installed in your computer. To avoid this kind of unwanted installation, from now on, you have to use the Advanced or Custom installation setup rather than the quick one.
Remove Allneed.pro Notifications from your computer by following the given removal guide below.
Step_1: Close all the browsers affected with Allneed.pro Notifications. If you’re having a hard time closing them, you can close them using the Task Manager just tap on Ctrl + Shift + Esc.
Step_2: Next, go to Processes and look for the process of the browser you’re unable to close as well as other dubious processes that could be related to Allneed.pro Notifications and then right-click on each one of them and select End Process or End Task to kill their processes.
Step_3: Then open the Programs and Features section in Control Panel. To do so, tap the Windows key + R, then type in appwiz.cpl and then click OK or press Enter.
Step_4: From the list of programs installed, look for any suspicious program that could be related to Allneed.pro Notifications and then Uninstall them.
Step_5: Edit your Hosts File
- Tap the Win + R keys to open then type in %WinDir% and then click OK.
- Go to System32/drivers/etc.
- Open the hosts file using Notepad.
- Delete all the entries containing Allneed.pro.
- After that, save the changes you’ve made and close the file.
Step_6: Reset all your browsers to default to their default state.
Mozilla Firefox
- Open Firefox and click the icon that looks like a three stacked lines located at the top-right section of the browser.
- Next, select the question mark icon from the drop-down menu.
- Then select “Troubleshooting information” from the slide-out menu.
- After that, click on the “Reset Firefox” button located at the top-right section of the newly opened web page.
- Now select “Reset Firefox” in the confirmation pop-up window that appears.
Google Chrome
- Open Google Chrome, then tap the Alt + F keys.
- After that, click on Settings.
- Next, scroll down until you see the Advanced option, once you see it, click on it.
- After clicking the Advanced option, go to the “Restore and clean up option and click on the “Restore settings to their original defaults” option to reset Google Chrome.
- Now restart Google Chrome.
Internet Explorer
- Launch Internet Explorer.
- Next, click the wrench icon for Settings.
- Then click Internet Options.
- After that, go to the Advanced tab.
- From there, click the Reset button. This will reset Internet Explorer’s settings to their default condition.
- Now click OK to save the changes made.
Step_7: Hold down Windows + E keys simultaneously to open File Explorer.
Step_8: Navigate to the following directories and look for suspicious files associated with Allneed.pro Notifications as well as the adware program that’s behind it and delete it/them.
- %USERPROFILE%\Downloads
- %USERPROFILE%\Desktop
- %TEMP%
Step_9: Close the File Explorer.
Step_10: Empty the Recycle Bin and afterward, you have to flush the DNS cache. To do that, just, right-click on the Start button and click on Command Prompt (administrator). From there, type the “ipconfig /flushdns” command and hit Enter to flush the DNS.
Congratulations, you have just removed Allneed.pro Notifications in Windows 10 all by yourself. If you would like to read more helpful articles and tips about various software and hardware visit fixmypcfree.com daily.
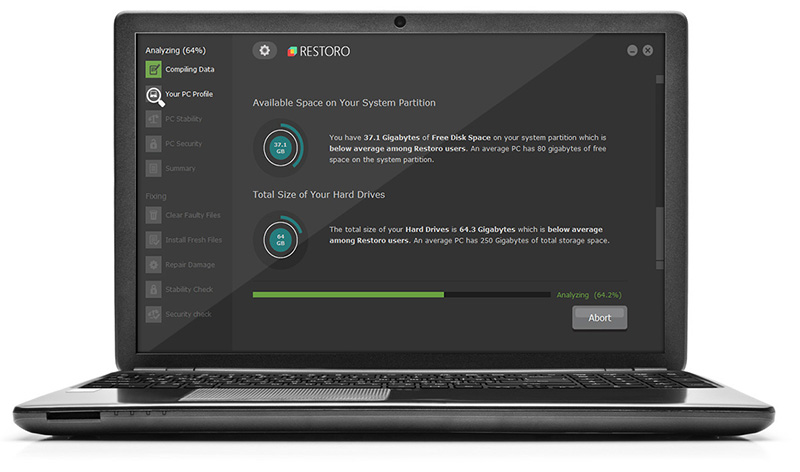
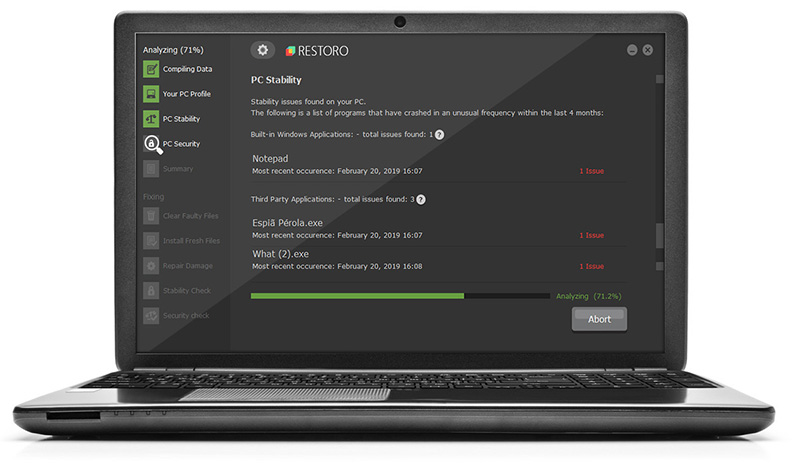
Now that’s how you remove Allneed.pro Notifications in Windows 10 on a computer. On the other hand, if your computer is going through some system-related issues that have to get fixed, there is a one-click solution known as Restoro you could check out to resolve them.
This program is a useful tool that could repair corrupted registries and optimize your PC’s overall performance. Aside from that, it also cleans out your computer for any junk or corrupted files that help you eliminate any unwanted files from your system. This is basically a solution that’s within your grasp with just a click. It’s easy to use as it is user-friendly. For a complete set of instructions in downloading and using it, refer to the steps below
Perform a full system scan using Restoro. To do so, follow the instructions below.