What is Directions Maps Finder? And how does it function?

Directions Maps Finder is a questionable program that functions as a browser extension. It is presented as a browser extension that supposedly allows users quick access to maps and routes online. It claims to provide various kinds of maps, local traffic data, driving directions, and other related information. Despite its seemingly useful features, it was determined that Directions Maps Finder is actually a browser hijacker and a PUP that could hijack a browser. Once installed, it quickly hijacks a browser’s default settings and modifies them without the user’s consent. As a result, the next time you open your browser it will now display Directions Maps Finder as the default homepage and new tab page.
With Directions Maps Finder installed, you will notice changes as you browse the internet. One of these changes is the sudden increase in the number of advertisements which shows that this browser hijacker gets revenue by displaying sponsored content. You will also encounter redirects to unknown and dubious sites that might contain malicious content. You also have to remember that like any other browser hijacker, Directions Maps Finder can monitor and track all your browsing activities to collect information such as:
- Your search queries
- The type of browser you’re using
- Language of your browser
- OS version
- IP address
- Date and time of your searches
- Cookies and related Data
Other Information (including such personal ones)
The harvested data may be used to deliver more customized and personalized ads and might even be shared with its affiliated sites. Clearly, Directions Maps Finder is a threat to your privacy. Thus, you have to get rid of it immediately.
How is Directions Maps Finder distributed over the web?
Directions Maps Finder is spread using the software bundling technique. This technique is commonly used by developers of unwanted programs as it allows them to sneakily install their programs without any permission from users. Directions Maps Finder is added as one of the extra components in a software bundle and will end up getting installed in your computer along with other unwanted programs if you don’t use the recommended Custom or Advanced installation setting.
To uninstall Directions Maps Finder from your browser and computer, make sure to follow the removal guide provided below.
Step_1: You need to close the browser infected with the browser hijacker. And if you can’t close it manually, you can close it using the Task Manager instead. Tap the Ctrl + Shift + Esc keys and open the Task Manager.
Step_2: Next, look for the process of your browser, right-click on it and select End task or End process to close it.
Step_3: Afterwards, tap the Win + R keys to open the Run dialog box and type “appwiz.cpl” in the field and press Enter to open the Programs and Features in Control Panel.
Step_4: From the list of programs installed, look for any programs that could be related to Directions Maps Finder or any suspicious program you don’t remember installing under the list of installed programs, and once you’ve found it, uninstall it.
Step_5: Edit your Hosts File.
- Tap the Win + R keys to open then type in %WinDir% and then click OK.
- Go to System32/drivers/etc.
- Open the hosts file using Notepad.
- Delete all the entries that contain Directions Maps Finder.
- After that, save the changes you’ve made and close the file.
Step_6: Now you have to flush the DNS cache of your computer. To do so, right-click on the Start button and click on Command Prompt (administrator). From there, type the “ipconfig /flushdns” command and hit Enter to flush the DNS.
Step_7: After that, restart your computer and then open your browsers and reset them back to their default state.
Google Chrome
- Open Google Chrome, then tap the Alt + F keys.
- After that, click on Settings.
- Next, scroll down until you see the Advanced option, once you see it, click on it.
- After clicking the Advanced option, go to the “Restore and clean up option and click on the “Restore settings to their original defaults” option to reset Google Chrome.
- Now restart Google Chrome.
Mozilla Firefox
- Open Mozilla Firefox and tap Ctrl + Shift + A to access the Add-ons Manager.
- In the Extensions, menu Remove the unwanted extension.
- Restart the browser and tap keys Alt + T.
- Select Options and then move to the General menu.
- Overwrite the URL in the Home Page section and then restart the browser.
Internet Explorer
- Launch Internet Explorer.
- Next, click the wrench icon for Settings.
- Then click Internet Options.
- After that, go to the Advanced tab.
- From there, click the Reset button. This will reset Internet Explorer’s settings to their default condition.
- Now click OK to save the changes made.
- Restart your computer.
Step_8: Hold down Windows + E keys simultaneously to open File Explorer.
Step_9: Navigate to the following directories and look for suspicious files associated with the browser hijacker such as the software bundle it came with and delete it/them.
- %USERPROFILE%\Downloads
- %USERPROFILE%\Desktop
- %TEMP%
Step_10: Close the File Explorer and empty the contents of Recycle Bin
Congratulations, you have just removed Directions Maps Finder in Windows 10 all by yourself. If you would like to read more helpful articles and tips about various software and hardware visit fixmypcfree.com daily.
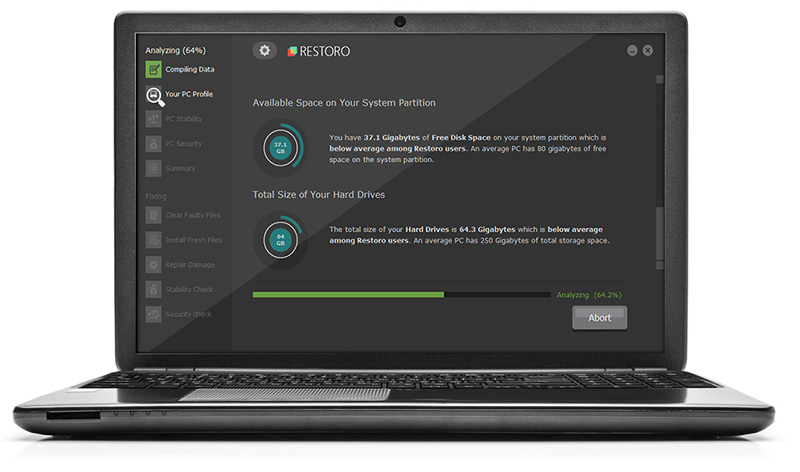
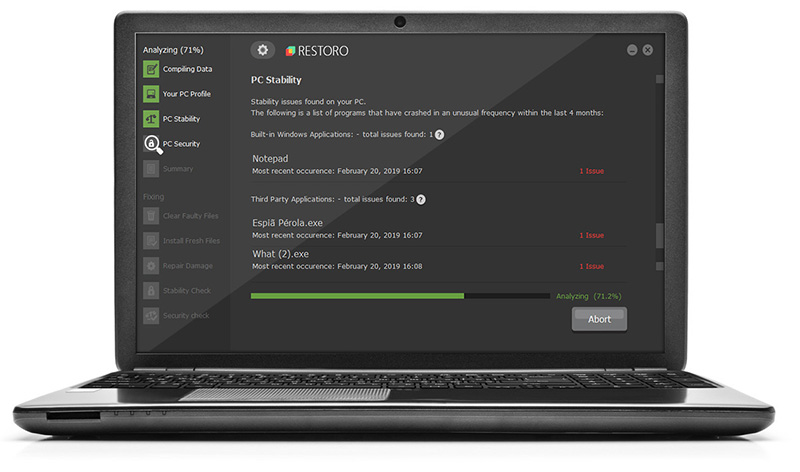
Now that’s how you remove Directions Maps Finder in Windows 10 on a computer. On the other hand, if your computer is going through some system-related issues that have to get fixed, there is a one-click solution known as Restoro you could check out to resolve them.
This program is a useful tool that could repair corrupted registries and optimize your PC’s overall performance. Aside from that, it also cleans out your computer for any junk or corrupted files that help you eliminate any unwanted files from your system. This is basically a solution that’s within your grasp with just a click. It’s easy to use as it is user-friendly. For a complete set of instructions in downloading and using it, refer to the steps below
Perform a full system scan using Restoro. To do so, follow the instructions below.